When you have a tree that you want to remove, it’s a huge decision that shouldn’t be taken lightly.
Trees that are dying or dead ought to be removed because of aesthetic, safety, and health purposes. But there are also times when you should remove a live tree. These are when they’re interfering with buildings, utility wires, other trees, and driveways. But remember that once you remove a tree it’s going to take years for a new tree to get to where that tree was.
This guide will cover any tree of reasonable height and diameter, with diameters up to 10 inches, a height of no higher than about 20 feet. It’s also for trees that are on mostly level ground. If you’re on a shoreline or bluff property and your root system’s different, these tactics are going to be different.
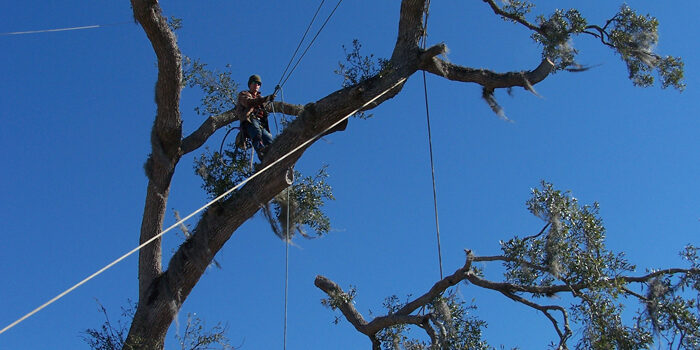
If your tree is especially large, let a professional do it. The reason is that mechanical equipment and guide ropes might be needed so that they can remove the larger limbs before taken the tree down. If you’re removing your tree because it’s interfering with lines, it’s good to contact your utility company.
REMOVING A TREE
LOOK FOR OBSTACLES
Check your surrounding area for any obstacles that are nearby like a fence, another tree, cars, overhead wires and other things.
LOOK AT YOUR TREE
Examine the way that the tree’s leaning naturally. You’ll get the best fall when you’re going with the tree’s natural growth angle. Check your tree for any safety hazards like hanging or dead branches. Check its trunk for any types of wounds because this could mean your tree’s center is rotten or hollow. If this is the case you should leave it to a professional because it’s going to be harder to control how it falls or your tree could fall early and put you and others in danger.
HAVE TWO ROUTES FOR ESCAPE
Before you take your tree down, have a couple of places to go that you can use when the tree is falling. There should be one on either side of your tree, and they should lead away from the expected line of fall.
After you’ve done your preparation work, you’re ready to take the tree down. What you use to do this is going to depend on your tree’s size. If you’re removing a bigger tree, you’ll want to use a chainsaw. If it’s a smaller tree, hand saws are best. If you’re not comfortable with a chainsaw, you should bring someone to do with a person who is.
Remember that it’s going to take time to do it. It’s going to take most of your day and don’t rush when you’re doing it. When you rush, it can cause injuries since you may not be comfortable using the tool or familiar with it. Below are the steps for taking down your tree.
UNDERCUT
This will serve as an aim slot or guide for your tree. This is a notch in the shape of a v that you cut into your tree’s side the way that you prefer the tree to fall. If at all possible, make sure its 90 degrees rather than 45. This angle will give your tree more room for it to fall before the undercut’s bottom and top come together. It should be a quarter of your tree’s diameter deep. Even though a tree as round as 6 inches is able to be cut through, it’s not a good idea since it could fall on itself so it doesn’t move. Even if you push it with your hand it might not mean the tree’s going to fall in the place you want.
BACKCUT
This is made approximately 2 inches above the undercut’s hinge and on its opposite side. This will release the stresses that the tree’s back have and let it fall. Don’t make your backcut below your undercut. This will reverse the cut’s roles. Don’t cut through your undercut since you’re going to lose control of your tree then. The direction in which your tree falls is able to be controlled closely using backcuts and undercuts that are properly made. It’s important to note that any types of coniferous trees like balsam, spruce, etc are extremely sappy and sinewy and they can bind up your chainsaw, which can lead to kick back and possible injury.
Florida Tree is the most trusted and top rated Tree & Ground Maintenance company in the area. But don’t take our word for it, see what your neighbors are saying about us and read our reviews.
GET SOMEWHERE SAFE
After your tree begins to fall, turn off the chainsaw and get to the escape path you’ve chosen. You shouldn’t admire your work since a falling tree is able to bounce backward on the stump.
Once your tree’s fallen and it’s where you hoped it would be, laying on the ground, take the next steps.
LIMBING
This is removing the branches at your tree’s bottom and go towards the top, removing the branches on the tree’s opposite side while you go. This way you’re protected from the chainsaw. Don’t stand on your fallen tree’s downside if you’re standing on sloped ground. You may accidentally cut a branch holding your tree’s log and this could roll, trapping you. Make sure you haven’t trapped a smaller tree as well and created a springpole.
There is a lot of energy stored in a spring pole and they’re one of the things that cause a lot of injuries. To release a springpole, locate its apex and then cut it with your hand saw or chainsaw.
Now you have a bare log. If you’re planning to use it for firewood, you should cut it into lengths of about 2 feet each. It’s a good idea to cut into your log halfway and then roll your log over to complete your cut. This will help you avoid running your chainsaw into the dirt. Branches can be cut to the length that is ideal for disposing of them and bundled as the bylaws of your collection company dictate.
REMOVING A STUMP
Your tree’s gone and you’re left with its stump. There are a few things that you can do now. Here are some suggestions.
DIG IT UP
Use your sharp spade, pruning saw, and pick for those roots that won’t give up. This is an effective method but it’s very time consuming and hard.
CONTACT A TREE SERVICE OR ARBORIST
The price for this will depend on the stump’s placement and size.
KILL THE STUMP
Drill some holes into your stump, then pour some chemicals into those holes. The stump will die eventually and decompose.
LEAVE IT BE
Leave your stump alone and it will naturally decay. Remove any new growth before it gets to 8 inches high so that the its stored food is gradually depleted. It can take anywhere from 5 to 10 years but it’s inexpensive, chemical free and easy.
INCORPORATE YOUR STUMP
This is a great option. Hollow out your stump by drilling a bunch of holes and then chipping out its pulp. When its hollowed out, it can be filled with birdseed to make a bird feeder. You can also fill it using garden soil, then plant annual flowers or vines in it. This is eventually going to decompose but it’s going to be a nice addition to the landscape. If you’d like to keep it from decomposing, add some varnish on the stump’s inside and outside.
As you can see, it takes a lot to remove a tree. But with some help and some care, you can do it successfully and safely.
